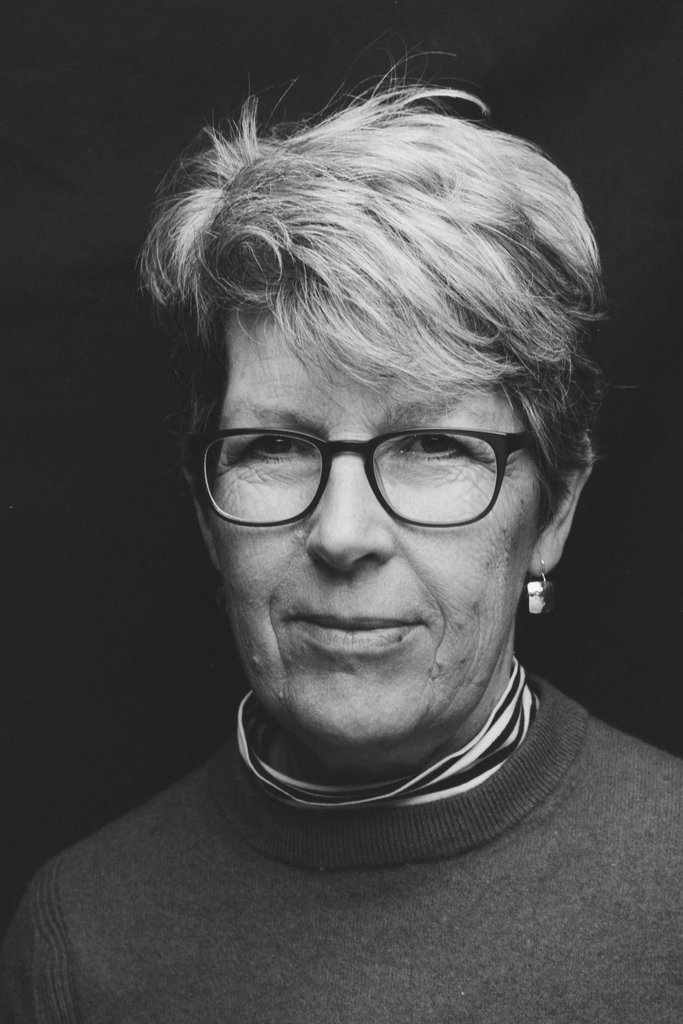
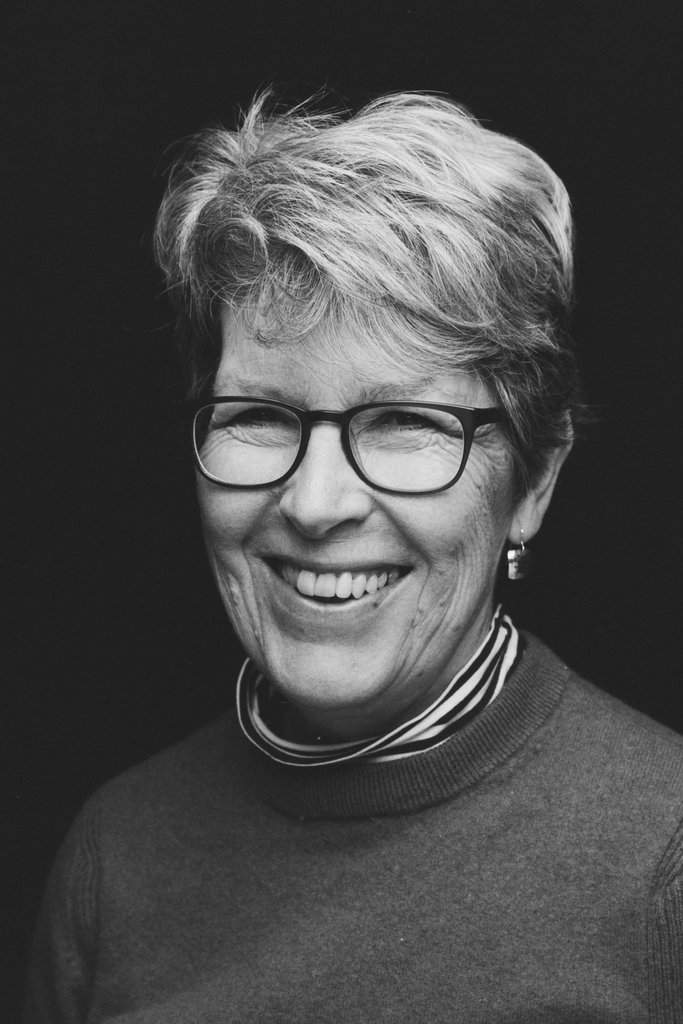
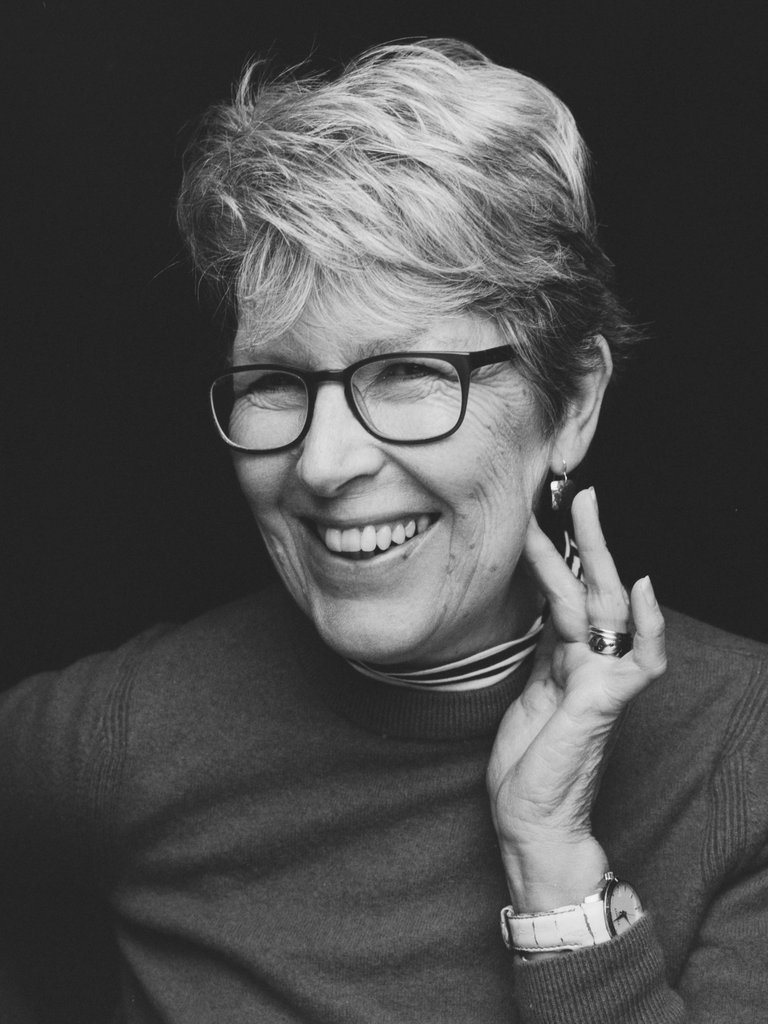
In November 2023 our Chairman Andy Hyde, gave a presentation on film photography where not only did he talk about the processes involved in Black & White photography – live, in front of the audience he demonstrated shooting film, developing film and actually printing 3 separate images.
As usual for one of Andy’s presentations volunteering was mandatory and through out the evening he asked members of the audience to partake to make the event as interactive as possible.
As normal for one of Hitchin Camera Club’s events, the evening was divided into 2 halves. The first half relating to the film itself and part 2 being all about printing.
Introduction
Andy explained that following one of HCC’s practical nights, he’d purchased a camera (from one of the club members) that he’d always longed after when he first took up photography as a hobby at the age of 12. Following that purchase he learnt that film (or “legacy” or “wet”) photography was enjoying a massive revival and that all of the films, papers and chemicals were readily available, with film cameras becoming treasured possessions, not amongst photographers returning to the darkroom, but amongst a new band of younger photographers coming to film for the first time.
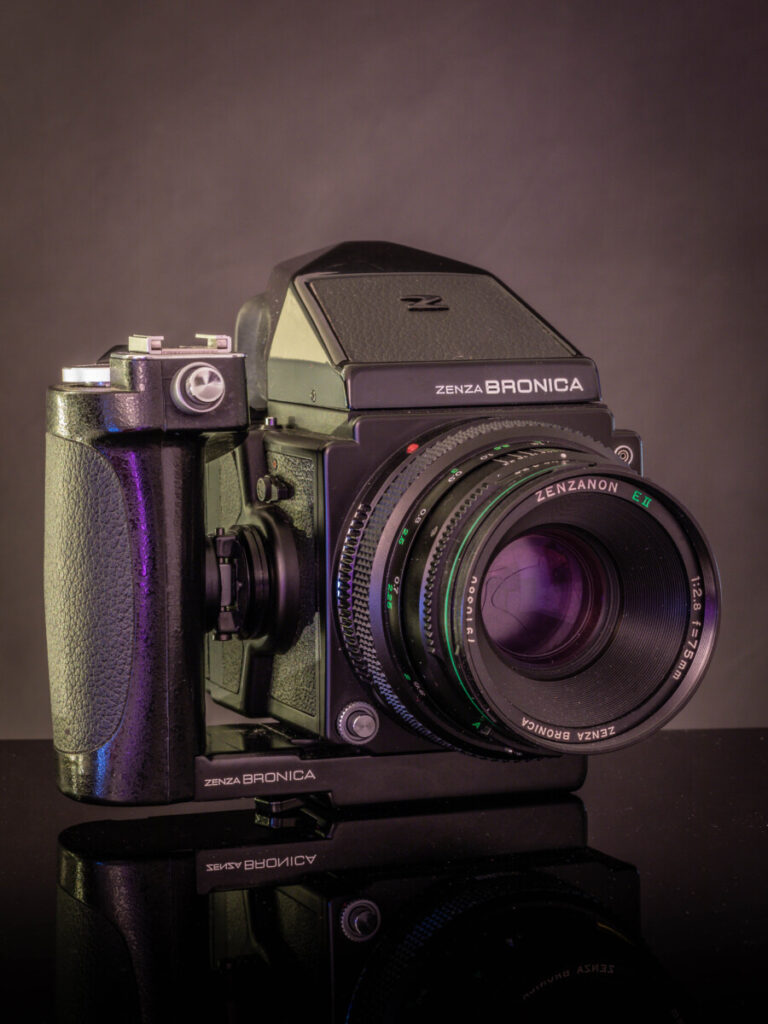
Andy’s Bronica ETRSi – as used on the night
Andy went on to explain how the purpose of this evening was to be a “trip down memory lane” for those used to film photography, and an introduction to the “Dark arts” for those who had only ever seen seedy detectives developing their prints in movies.
The Shoot
The first part of the evening involved capturing some images. For this Andy volunteered several club members – some to be backdrop stands, some to hold lighting equipment, and some of course to be the “talent” (models).
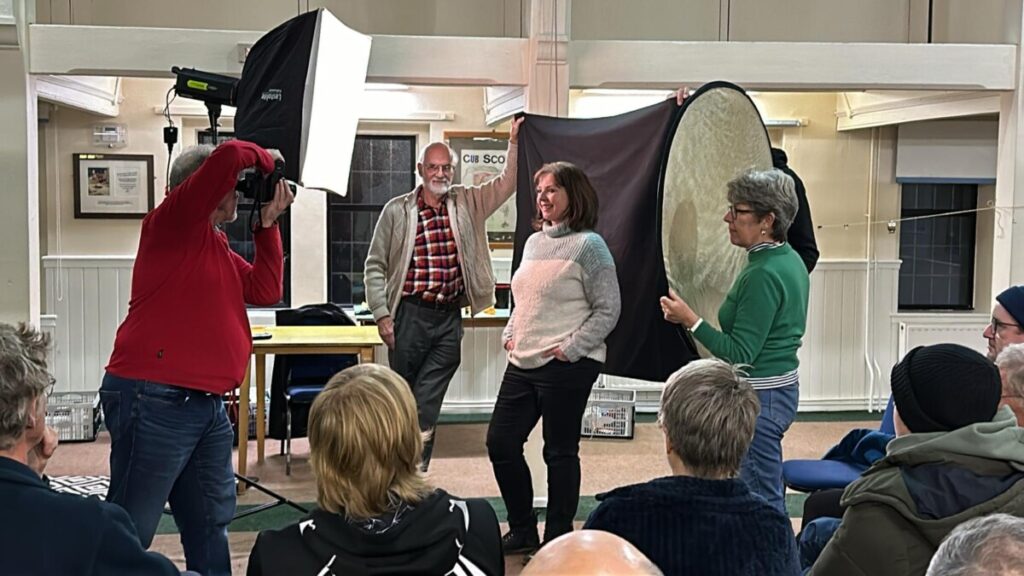
Andy and his team of willing helpers
For the technically minded;
- Bronica ETRSi with Prism finder and 75mm f2.8 lens
- Fomapan 100 in (645 format giving 15 images on a 120 film)
- Lastolite 400, with an 80cm softbox
- 1.2m pop-up reflector with the white side facing the model
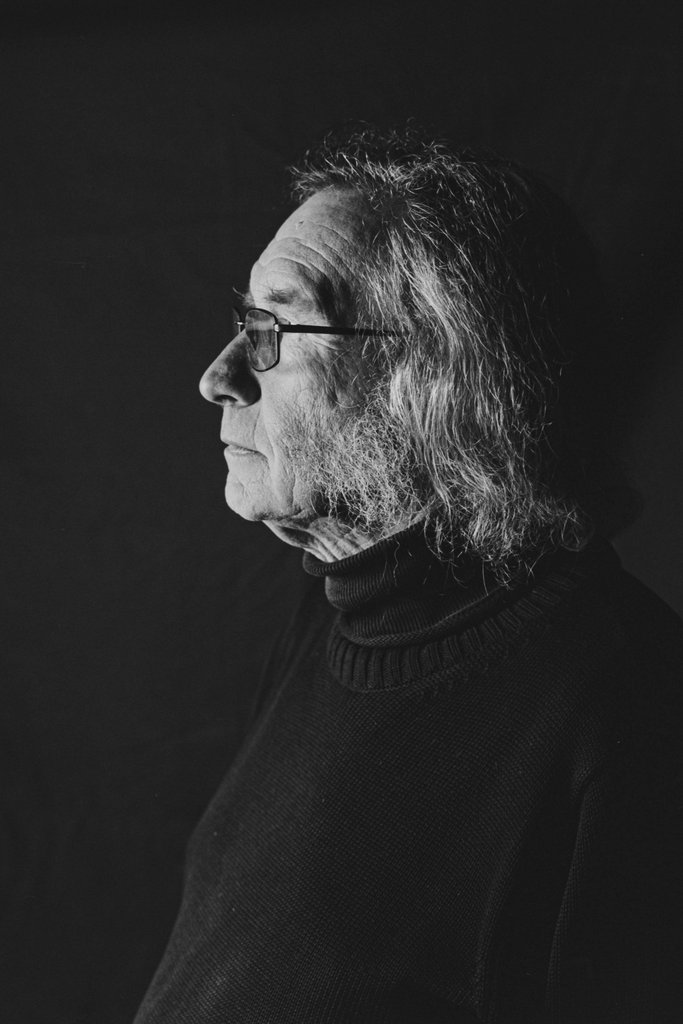
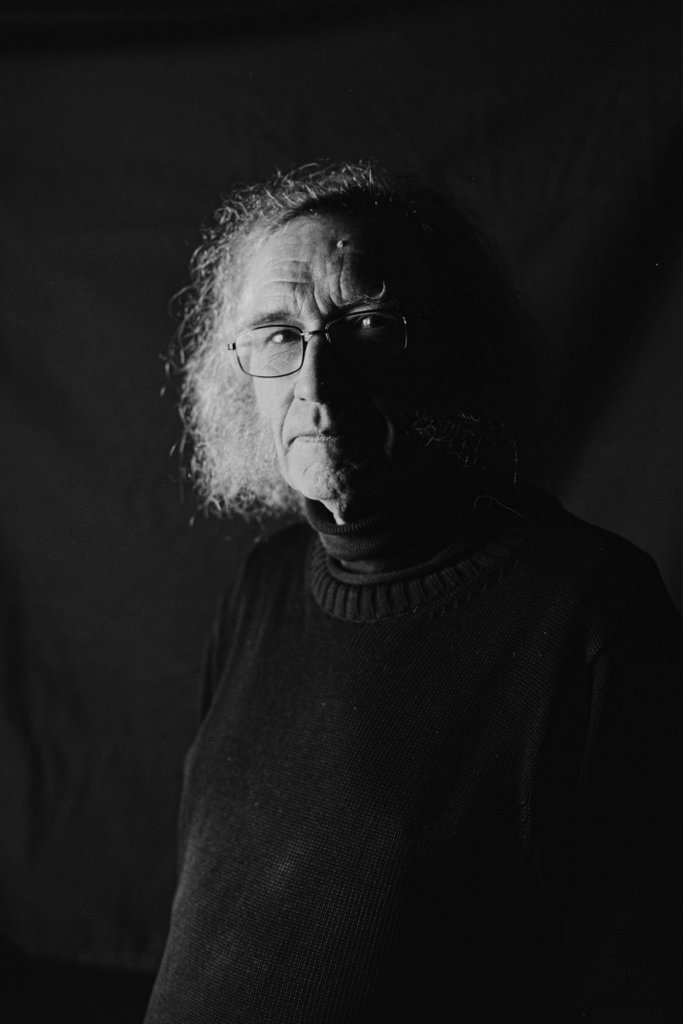
Strong light
For the first portrait, Andy chose someone with a characterful face to be his model and used strong, direct lighting to capture a powerful profile.
During this part of this evening Andy highlighted how you can’t check the back of the camera to see if your exposure is right and hence the importance of knowing how to use a light meter (or in this case a flash meter).
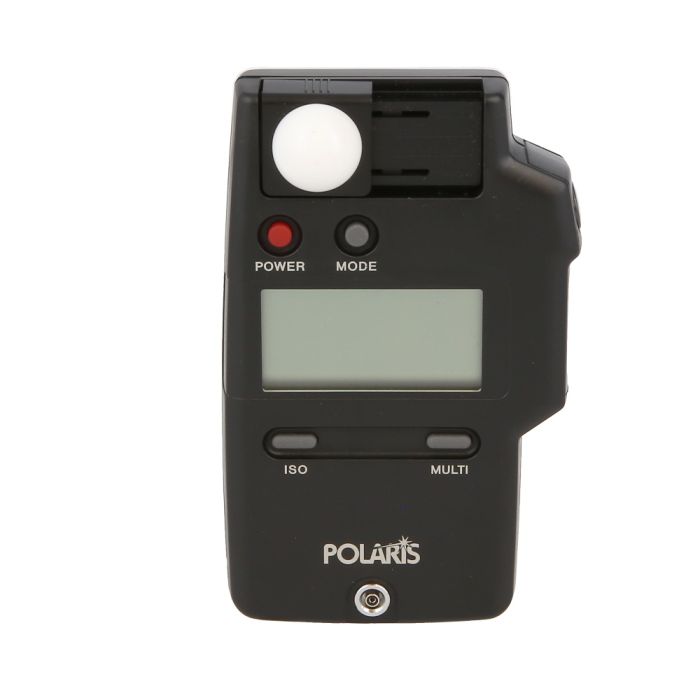
A Polaris flash meter used to take accurate readings of studio lighting
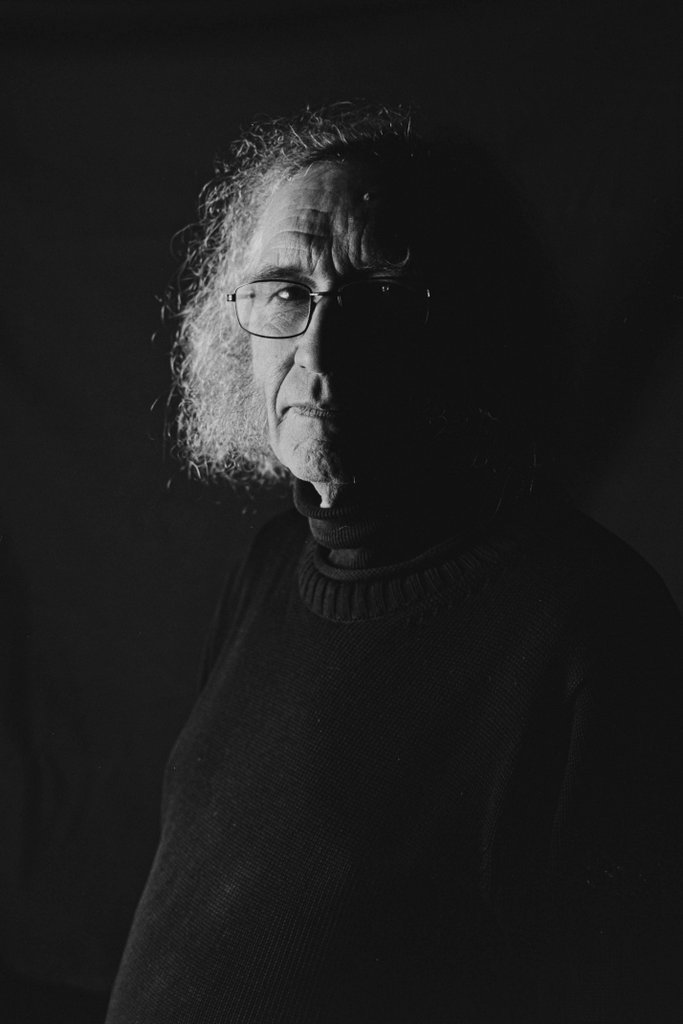
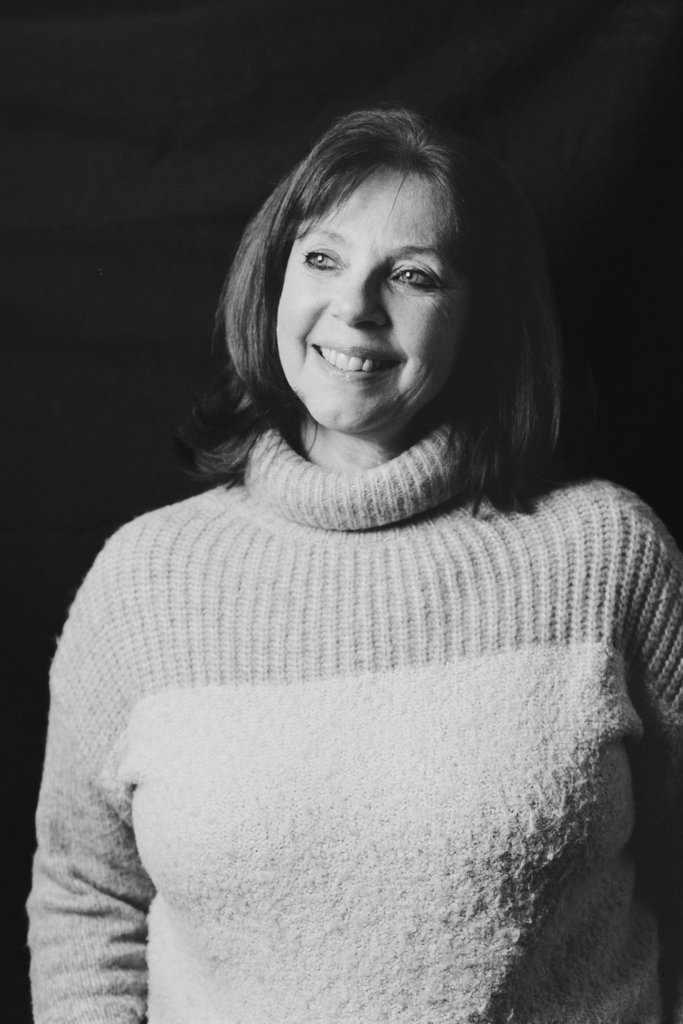
Rembrandt lighting
For the second set of shots Andy moved the light for a more conventional position to create Rembrandt lighting when the key (or main) light casts a triangular shadow of the subject’s nose across their face. A reflector was added to soften the shadows.
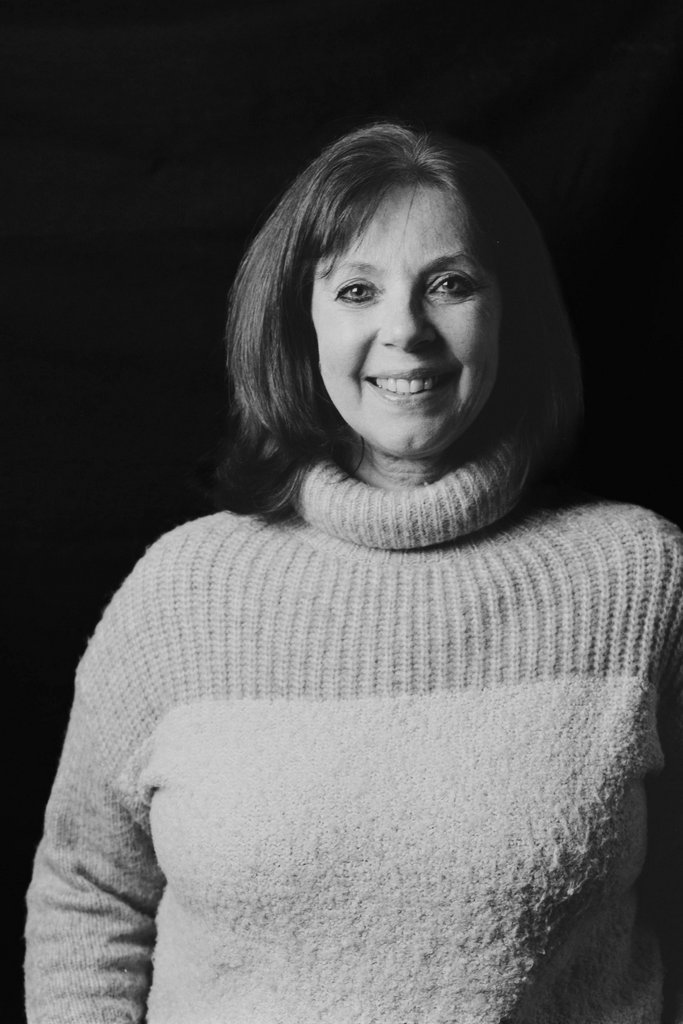
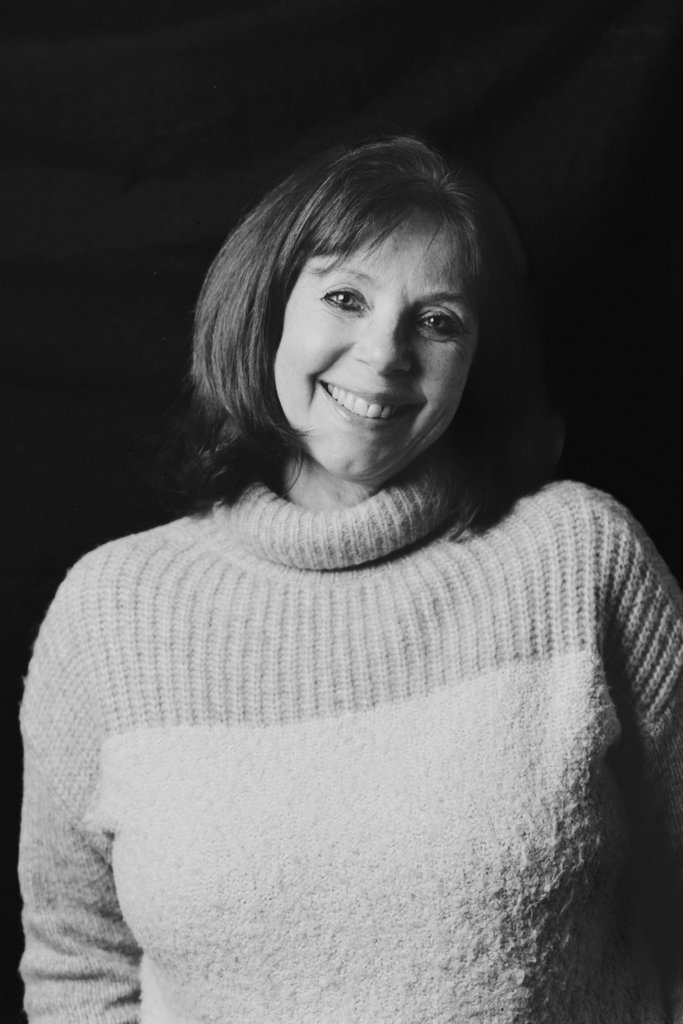
Clamshell or Butterfly lighting
For the final sequence of images Andy changed the light again to a very flattering and soft light where the key light is placed in front and above the model, but a reflector is placed close under the subject’s face to even the light. Here Andy explained the importance of the need to re-meter every time you change the lighting. In this case the light was nearly 3 stops stronger than the previous 2 set-ups.
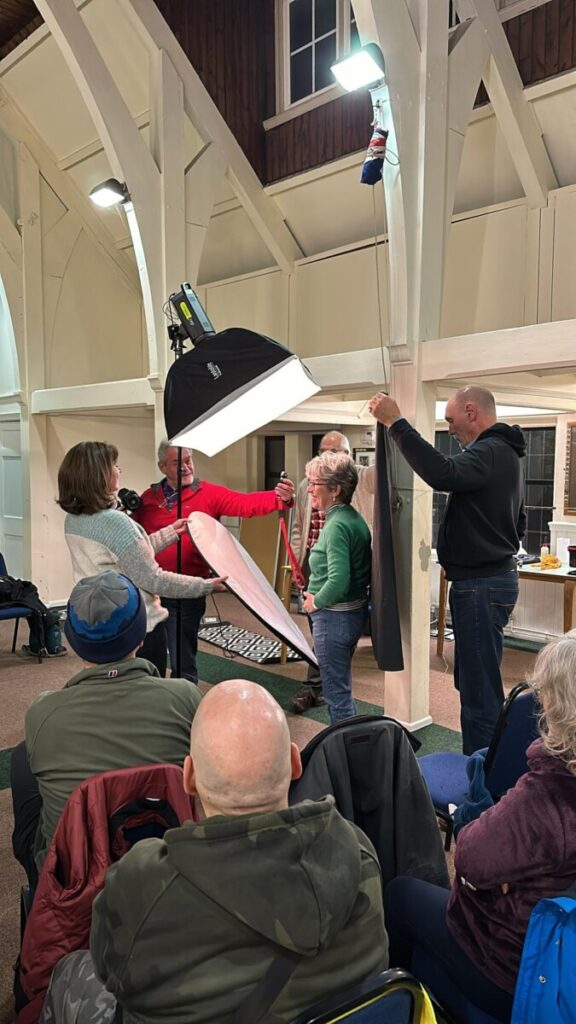
Re-metering having switched to clamshell lighting
Developing the film
Once the shoot was complete Andy explained a little about film and how whilst the image was “on the film” it was latent and could only be revealed and made permanent by a chemical process. While talking about film there was a discussion around different film types, which lead to a later question about why are there different sizes of film – which is essentially a trade off between larger negatives which give better quality and smaller negatives which allow smaller cameras.
Loading the spiral
In order to develop the film it needs to be removed from it’s protective cassette or backing paper and placed in a light tight developing tank. This needs to be done in a completely dark environment and is normally done inside a “changing bag” (a changing bag is double-layered bag where items can be zipped inside and photographer can reach in through elasticated holes) however this makes for a poor demonstration so Andy asked a volunteer to demonstrate the process with a dummy film. Of course the volunteer needed to be blind folded to represent working by touch in the changing bag.
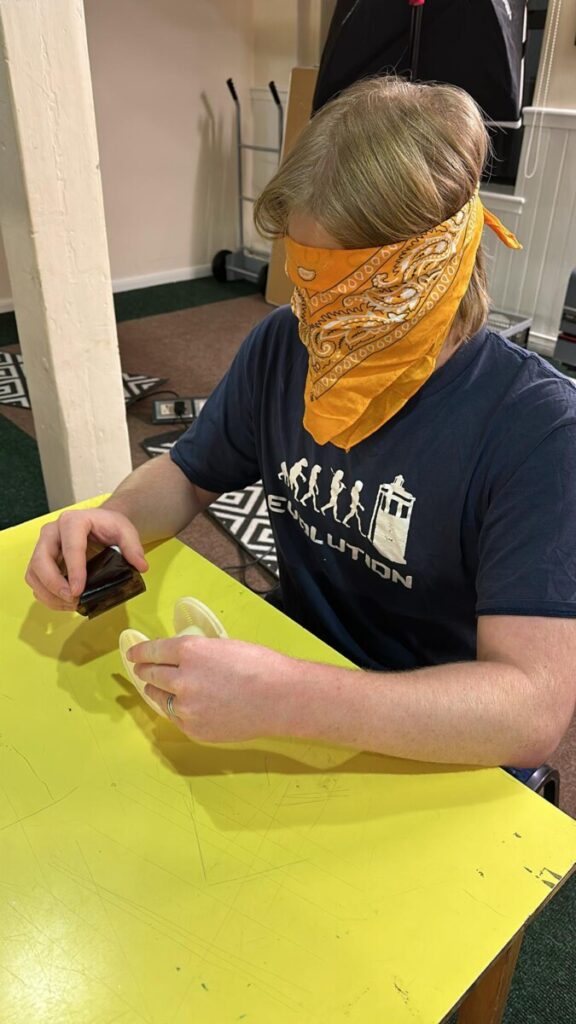
Simulating what goes on in the changing bag
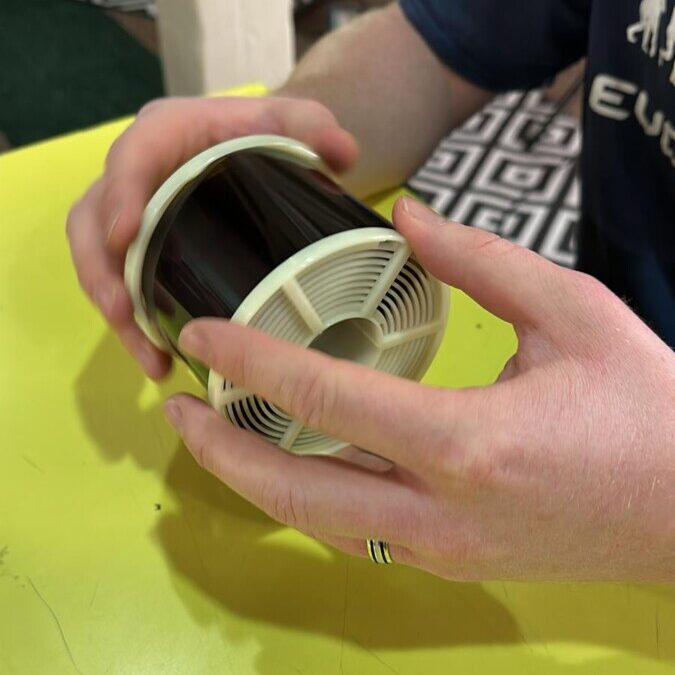
The “dummy” film is successfully loaded
The film is loaded into a processing spiral (or reel) which is then placed in a light tight developing tank.
Processing the film
Prior to the processing starting Andy explained how time and temperature are important but for black & white not as critical as you might think. Once the film was loaded the chemicals were poured into the tank one by one and allowed to do their job.
In order to keep everything on track the Massive Development Chart App was used. This allows you to select your film and chemistry, and the app will give recommended timings. The App can be downloaded and is £6.99 well spent, however the same information is available on their website for free (https://www.digitaltruth.com/devchart.php).
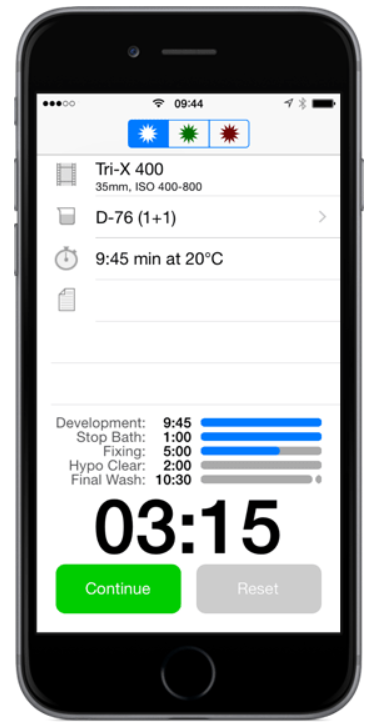
The Massive Dev Chart App
Once the processing started Andy guided our “potions handler” through all the steps needed;
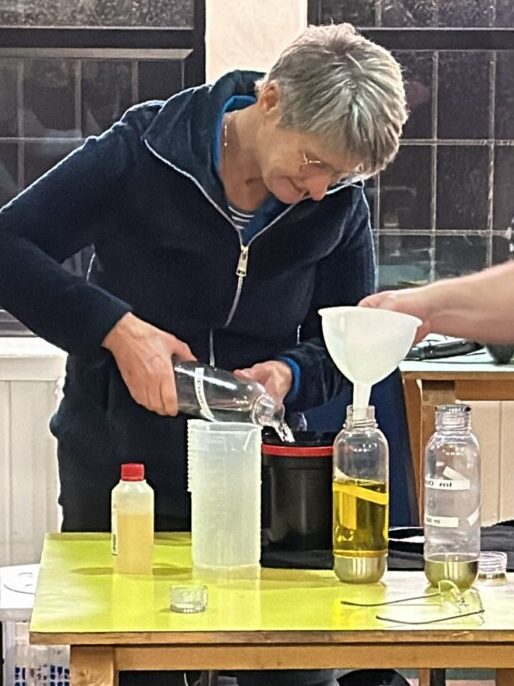
Pouring in the Fixer
- Pre-wash – Fotonal
This is an optional stage that allows a wetting agent to be applied to the film. When this was poured away everyone was amazed at the vibrant green colour (the wetting agent was clear when added) this is due to an Anti-halation layer on the film being removed by the wetting process.
This needs just a few drops of wetting agent in a tank full of water. - Development – ILFOSOL 3
This is the vital stage that reveals the hidden image on the film. Here 500ml of solution had been made up in advance from concentrate.
Five minutes were all that were needed to develop this film. Film developer is only used once and could be poured away at the end. - Stop Bath – ILFOSTOP
A stop bath isn’t necessary for film processing (but does no harm) and simply ensures that development process is stopped promptly at the end of the developing phase. Without a stop the development could continue causing uneven development and potentially over development.
Just 1 minute is needed here, although the stop takes just seconds to work. The stop bath can be used many times until it turns pink! - Fix – ILFORD RAPID FIX
The final stage makes the film image permanent and removes the unused emulsion from the film. Without this “clearing” stage the negatives would be hazy and difficult to use.
The fixer can be used repeatedly, and never actually goes “off”, it just becomes slower and slower to act.
This was the moment of truth, were there negatives?…
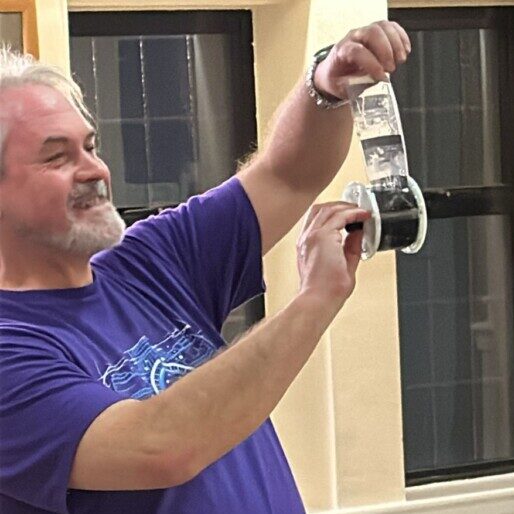
A successful process. We have negatives!
The final stage was to wash the film to remove any remaining chemicals which will deteriorate and damage the negatives over time. During the washing process Andy demonstrated a “Dutch” wash which uses agitation and 5 or 6 changes of water. This is far less wasteful than the normal “force” film washing.
Finally the negatives were rinsed in wetting solution to help them dry quickly and without streaks.
For expediency we dried the negatives with a hair dryer, however normally they would be left to hang in a dust free environment for a couple of hours.
Printing the negatives
For the second half of the evening we turned our club room into a darkroom with use of the room blinds and tin foil to cover the windows. Although the room wasn’t completely dark it was good enough!
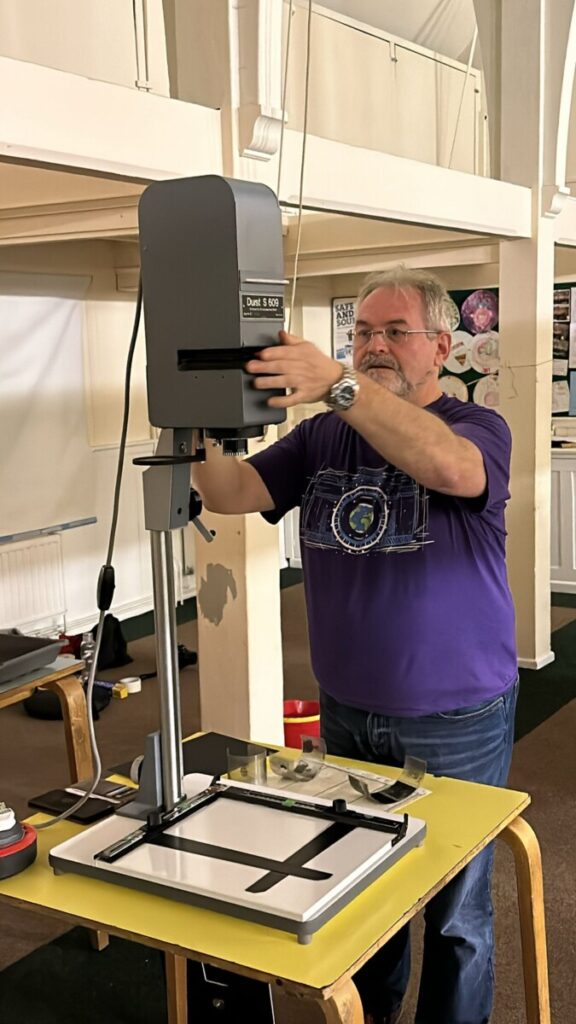
Setting up the enlarger ready for use
The first step was to set-up the enlarger. The enlarger is nothing more than a projector, where the negative shines on to the easel where the printer paper will be placed.
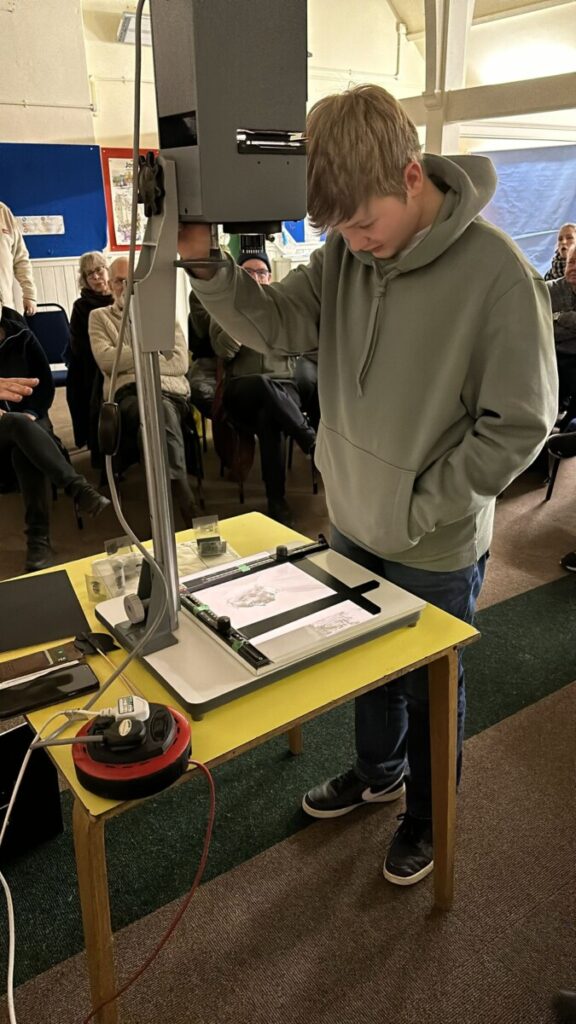
One of our younger members gets to grip with the controls before we turn the room lights off
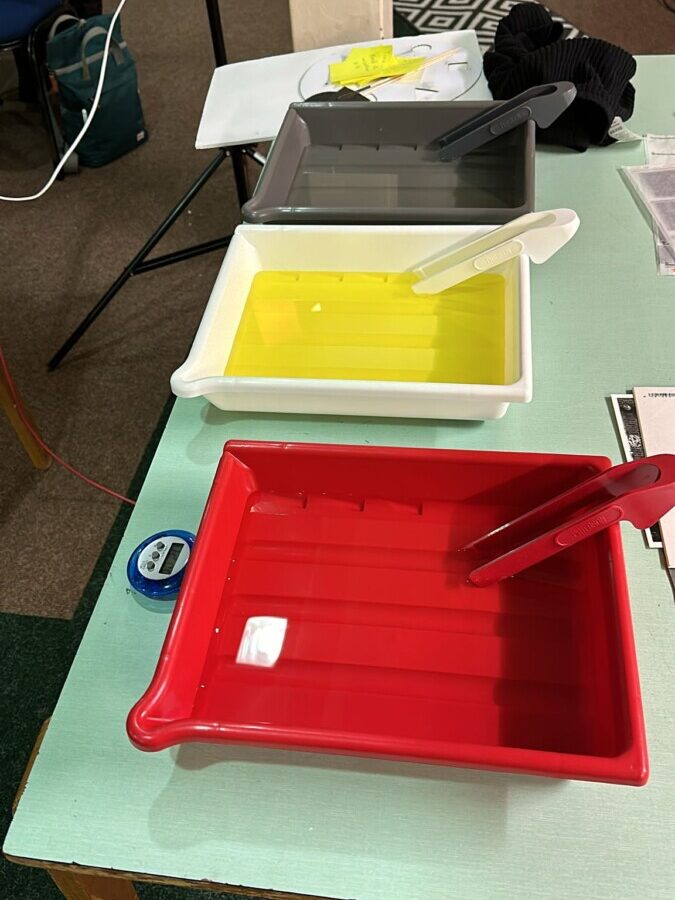
Our processing chemicals ready to use – Red for developer, White for stop and Grey for fixer
Making a test strip
The first step to making our print is to find out the correct exposure. Andy explained how by making several short exposures and covering a thin strip of photographic paper we can make several different exposures to see which is best.
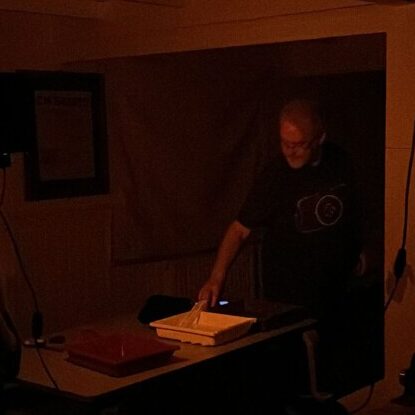
Andy processes our first print, working under the orange safe light
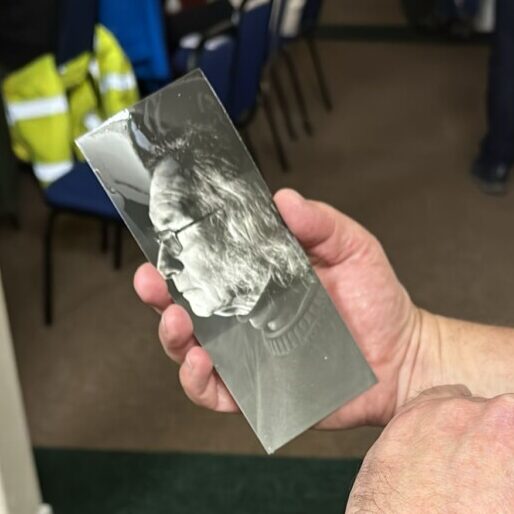
Andy assesses which is the correct exposure
Once we’d determined the correct exposure we, turned off the lights, asked our “paper handler” for a sheet of paper and made our first print.
Using a metronome app our youngest member made the exposure while we counted the required number of seconds. Once that had been done the exposed print was placed into the developer for 1 minute and the image appeared, before being fixed and washed.
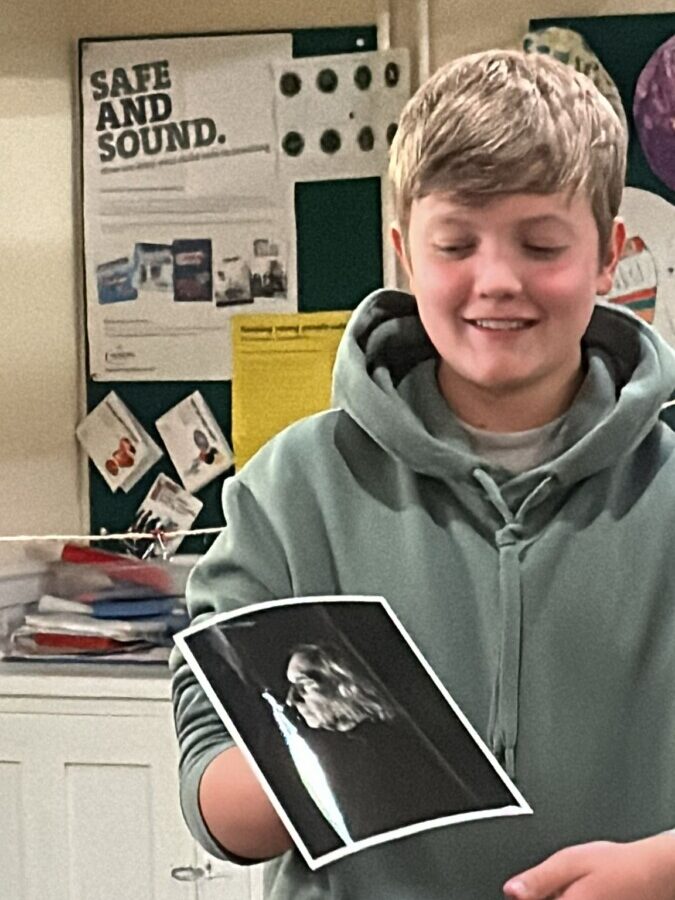
Less than 2 hours after the shot was taken we have a print!
For the technically minded;
- Enlarger – Durst S609
This is a really well built black & white enlarger which allows negatives up to 6cm x 9cm to be used, and uses a condenser to even out the light.
For this evening we used a 105mm lens stopped down to f11 – This is a bit longer than is needed but gave us more space between the enlarger head and the easel to work. - Print Developer – ILFORD MULTIGRADE
Although designed for one specific printing paper this developer can be used with any normal silver gelatine paper, and can be used several times before it needs replacing. Like all of the chemical used tonight it comes as a concentrate. - Stop bath
Exactly the same as for film - Fix
Exactly the same as for film - Wash
A bucket of water! - Paper – ILFOSPEED – Grade 3 – Glossy
This is a good everyday printer paper which is easy to handle. It’s resin coated which means it dries quickly and grade 3 gives nice contrasty images.
Further prints
Having got everything set-up it was quick and easy to run through some more prints and Andy invited lots of different people to have a go at using the enlarger and processing the prints.
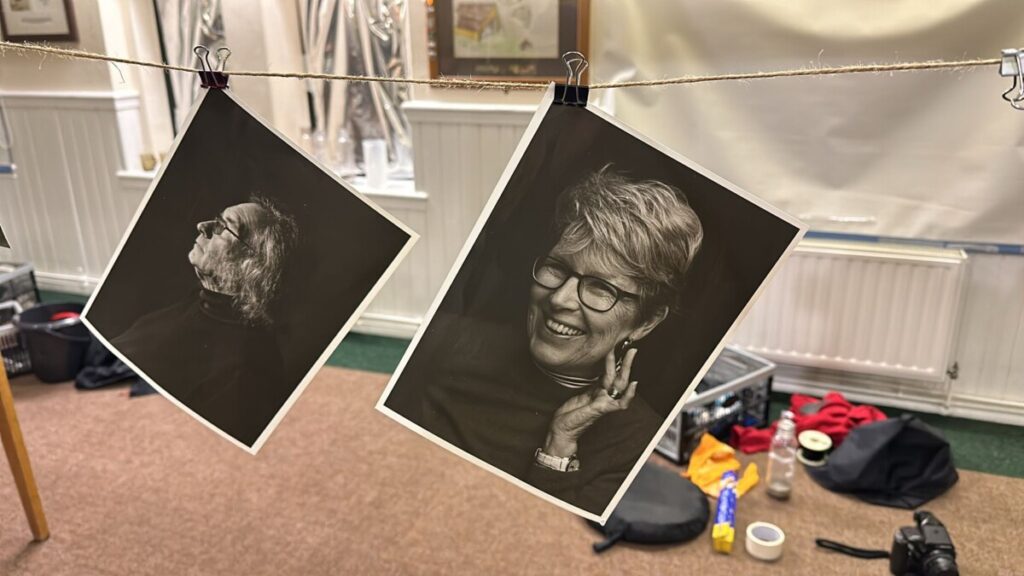
Print production in full swing
Dodging and burning
To round off the evening Andy spoke about and demonstrated dodging and burning, where parts of the image are shaded during the exposure to make them lighter, or given extra exposure to make them darker. Andy was able to make one final print demonstrating how a selective dodge would be done and how a vignette or gradient could be added to an image.
Summary
At the end of the evening the event was hailed a great success, with Andy hoping that some more of the members would like to experience film photography and find out why he’s so passionate about it.
At the bottom of this page you’ll find the images we shot.
Developing and printing services
Andy is able to offer a black & white developing, printing and scanning service to members, is willing to hire out his dark room if you want to have a go yourself! See Andy for details
Film Supply
Andy keeps a number of films in stock and is able to sell some (including bulk load 35mm) to members.
What people said about the evening…
JM
Brilliant night learnt a lot too
Great brownies 🙂
GDS
Excellent Evening
MS
Brilliant Evening Andy
LP
Best HCC evening I’ve experienced for years!!!!!
DT
It was a lot of fun and very interesting, thanks Andy
CF
What a fun evening that was. Andy, you did brilliantly and I thoroughly enjoyed learning something new.
WD
excellent evening, excellent tutor. Thank you
IS
An expertly planned and executed evening Andy – thank you.
SP
I had a dream about film photography 😂 it was a great evening thank you Andy!
AD
I didn’t dream about film photography, nevertheless, I really enjoyed the evening.
The Photos
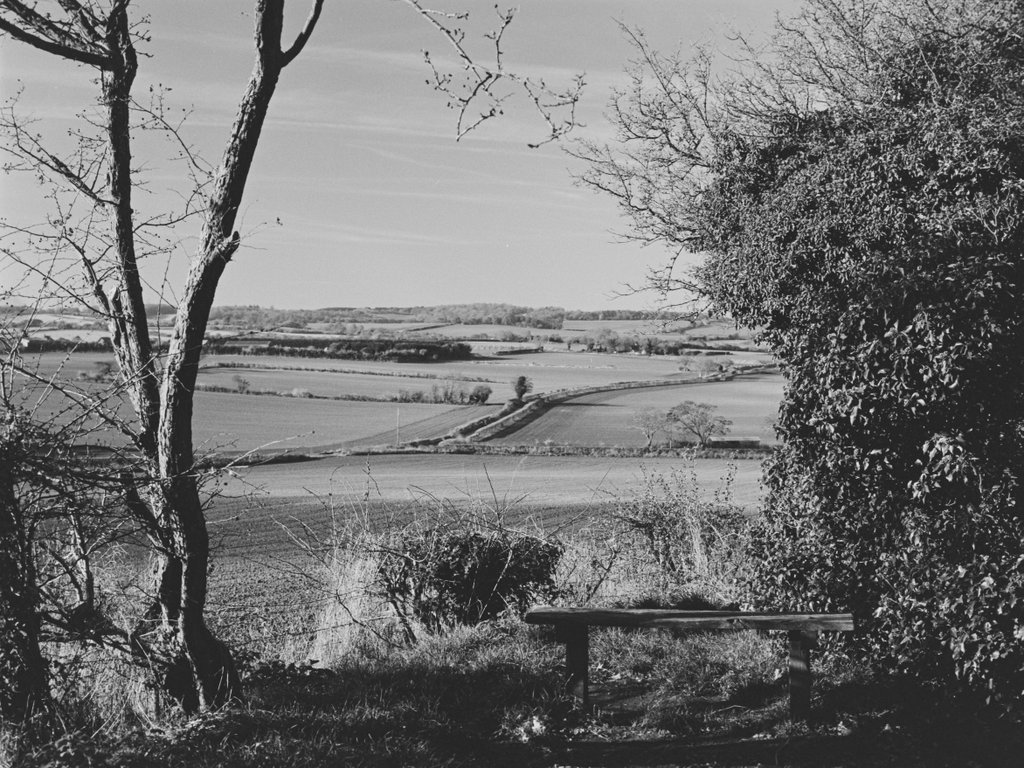
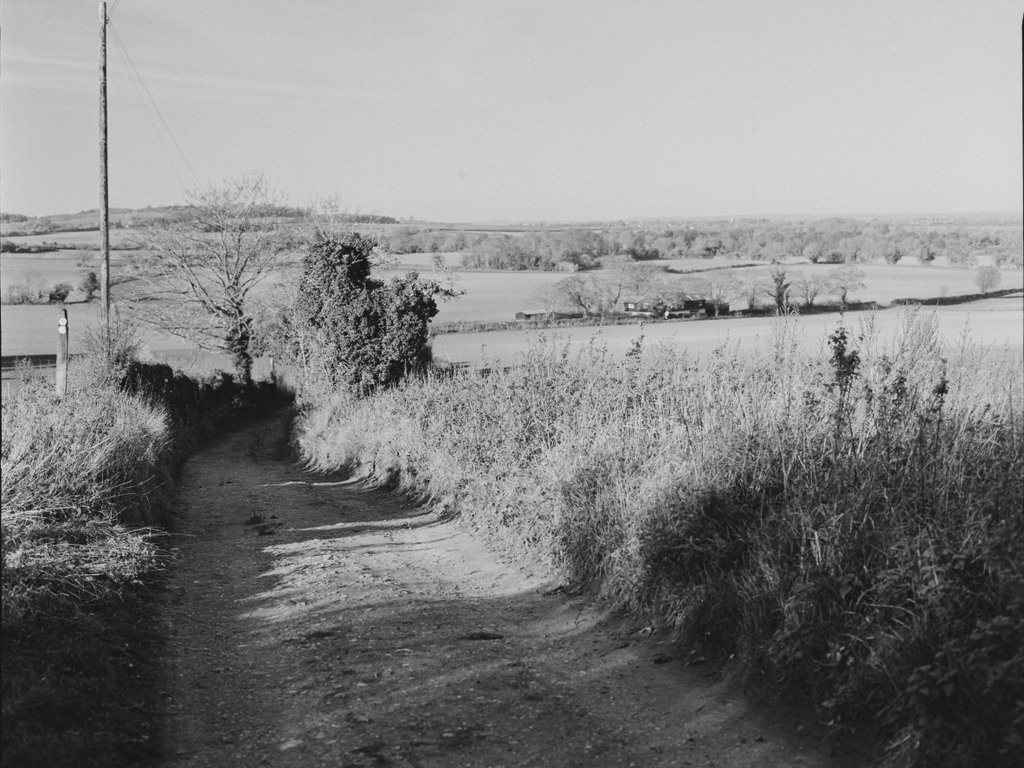
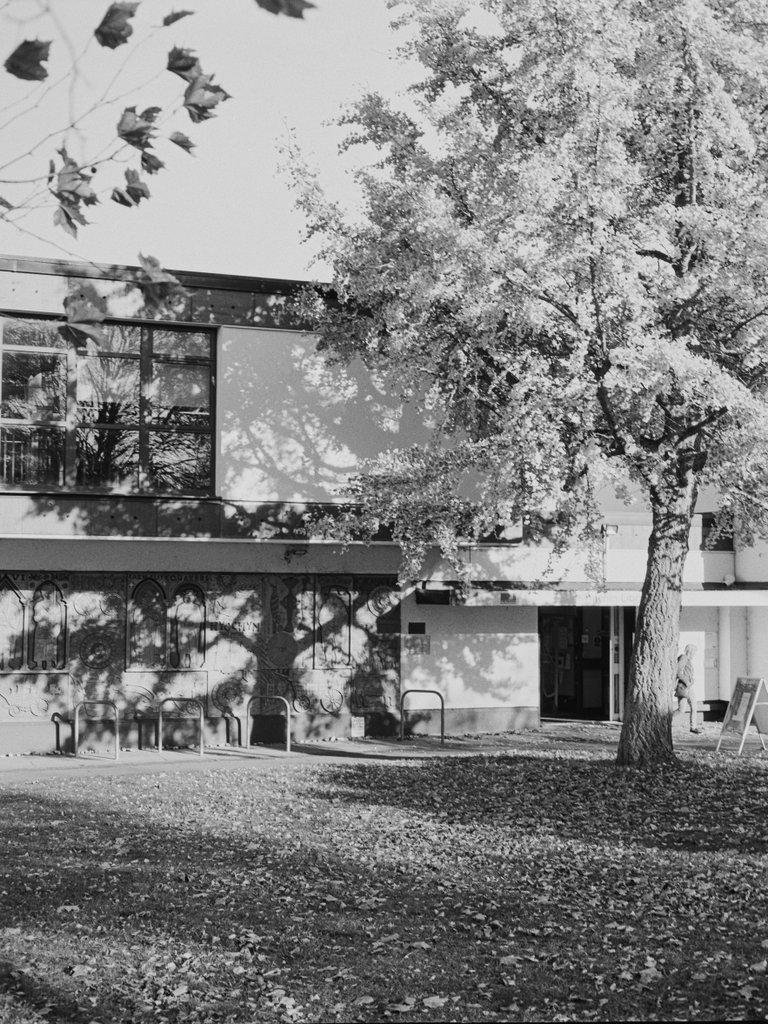
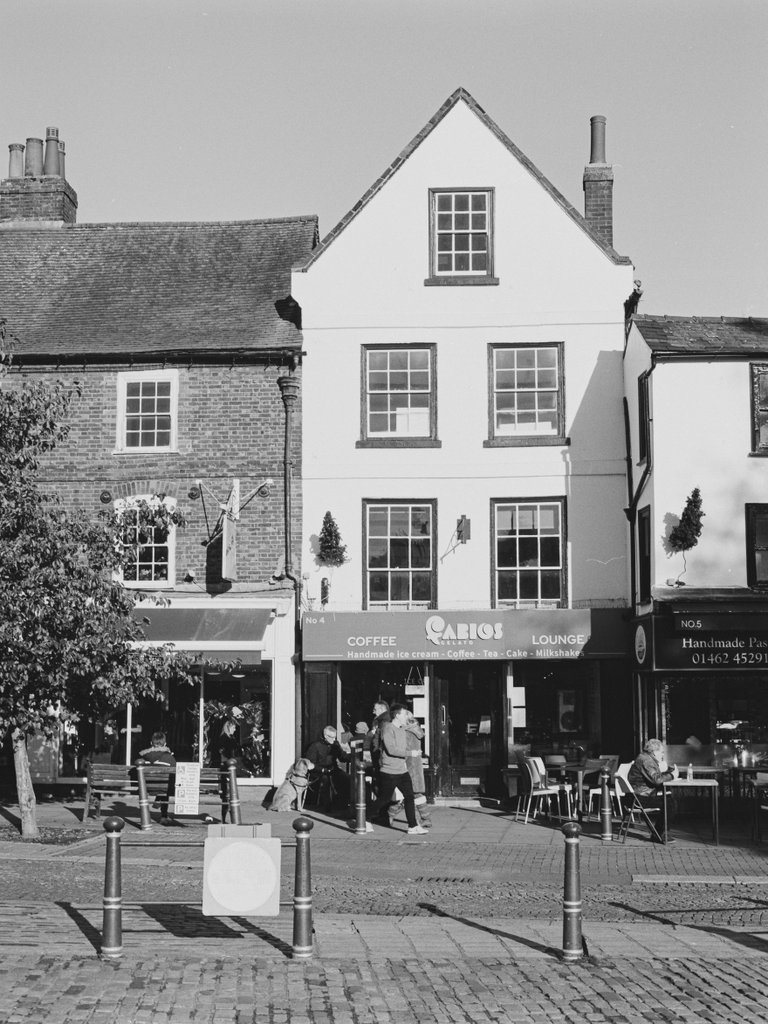
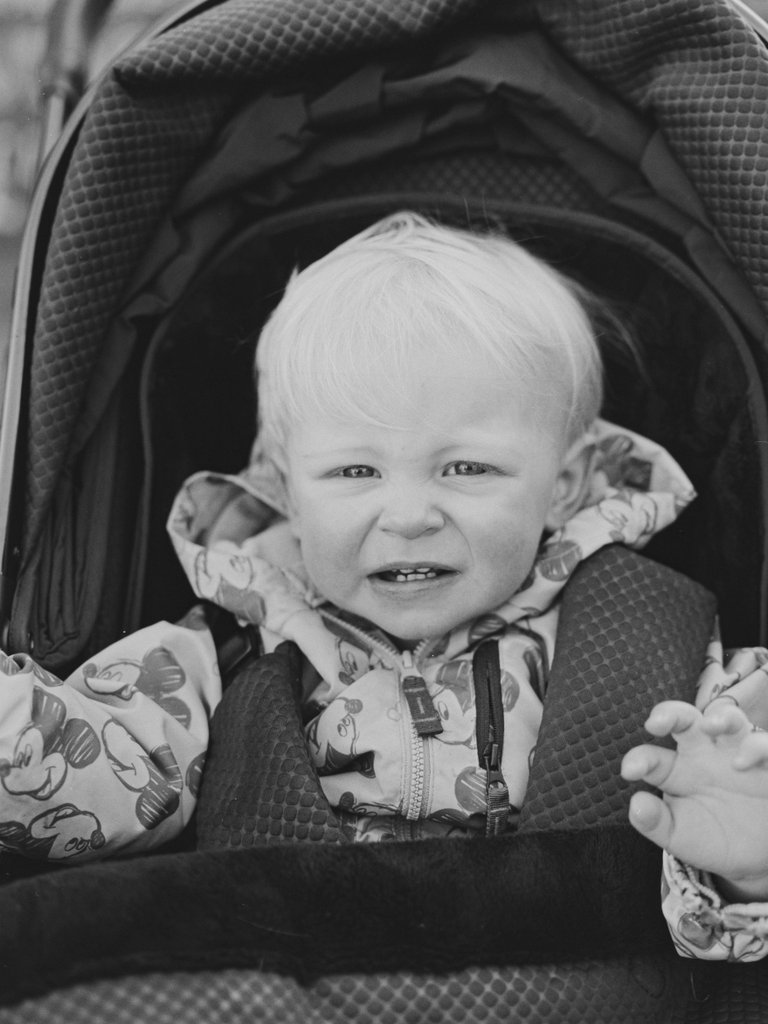
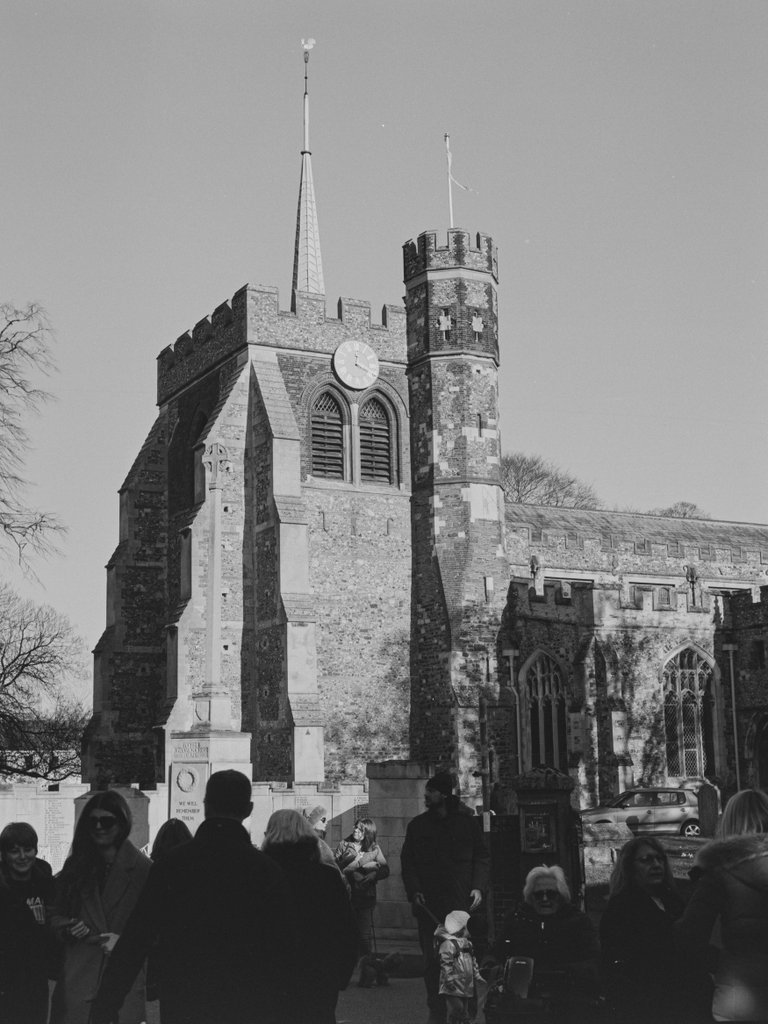
Here are the photos from the film we developed on the night. The first 6 were taken around Hitchin to ensure we had some daylight images for comparison with the studio shots.